MASTER THE JOY-CON 2: FULL ZR BOARD REPLACEMENT WALKTHROUGH
Quick Guide: Replacing the Joy-Con ZR Button Board
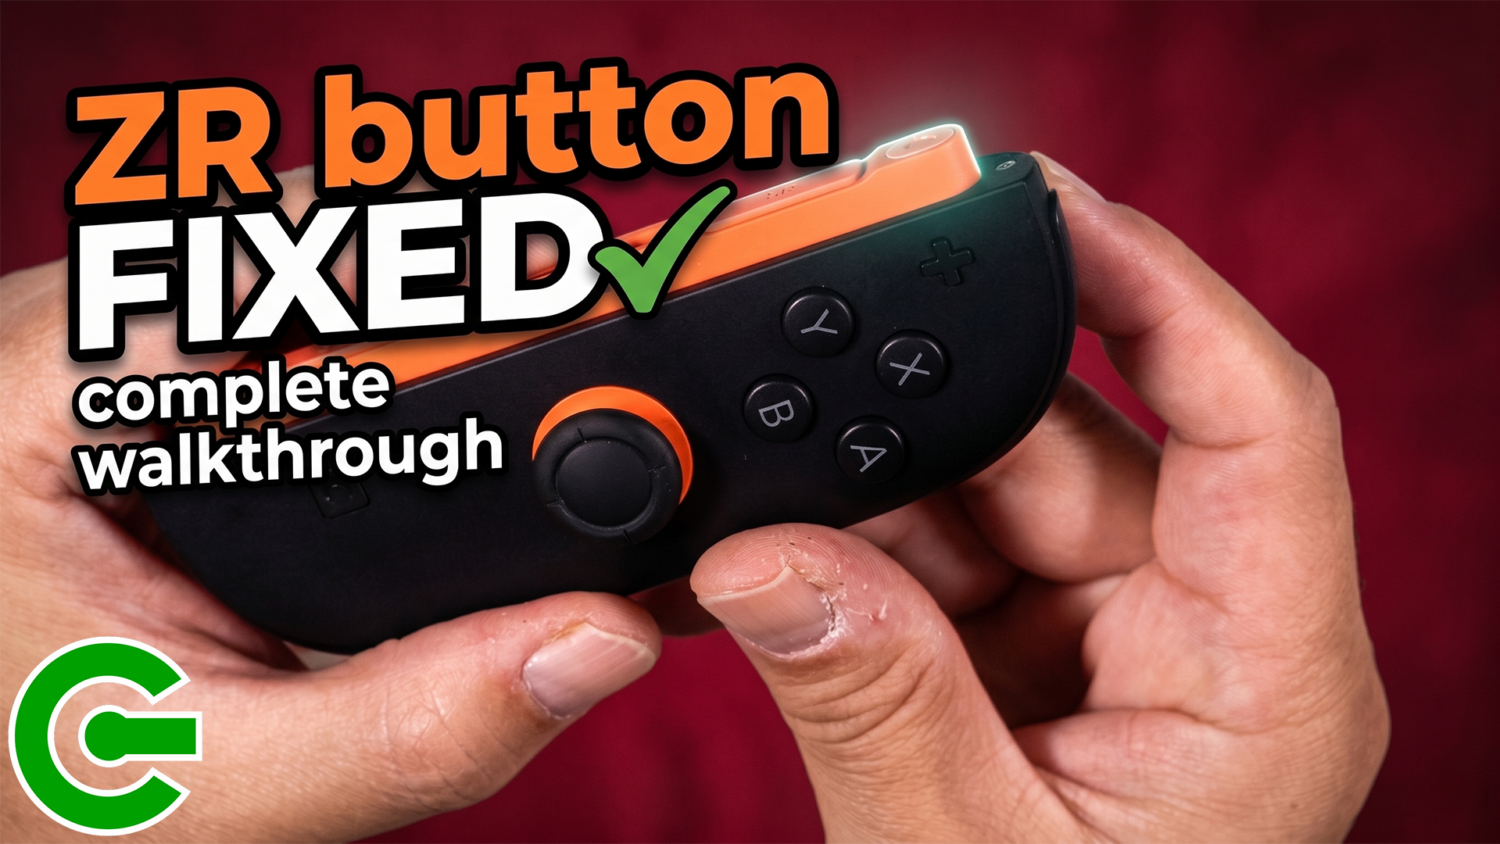
This video provides a step-by-step walkthrough for replacing a faulty ZR button board on a Joy-Con. Watch as we navigate the internal components, from managing the middle frame and delicate flex cables to ensuring the R button and rumble motor are correctly seated.
Key steps covered:
Proper screw placement (Silver vs. Black Philips vs. Tri-wing).
Correct orientation for the R and ZR buttons.
Reassembling the internal holder and back cover.
Final functionality testing.
Whether you’re fixing a non-responsive trigger or just performing general maintenance, this guide ensures a smooth and successful repair. Thanks for watching!
————————————————————
TIMESTAMP
00:00: START
00:16: INTRO
00:27: DISCLAIMER
00:36: PREREQUISITES
00:59: THE DISASSEMBLY – REPLACEMENT – ASSEMBLY
10:54: THE TESTING
11:41: OUTRO
————————————————————
MUSIC
https://elements.envato.com/cloud-pop-APXDZCE
————————————————————
CONTACT & DONATION
https://linktr.ee/sthetixofficial

